Category Archives: New products

ESP32 Development Board-Again

Here is the current version of the$16.95  ESP32 development board using an ESP-WROOM-32 module directly from Espressif.   My optimism about the availability of the ESP32S modules from AI-Thinker was misplaced.  I believe they are finally shipping now but since I haven’t seen any with my own eyes I remain unconvinced.  In the meantime, I switched to a module that is actually available in production quantities.

Top View of New PCB

The ESP32 board has a Espressif WROOM-32 module installed with the pinout marked on the PCB albeit in very small letters.    The PCB is routed out under the antenna for the best RF performance.  The WROOM-32 module is certified worldwide by the relevant authorities and has an FCC Id number.

http://www.ezsbc.com/index.php/products/wifi01-28.html is where you can buy some for $16.95 each.  The schematic is also available for download and there are a few example programs on the forum.

ESP32 Development Board

It seems that most ESP32 breakout boards are vaporware or futureware.  I have been buying ESP8266 modules for some time and recently ordered ESP32S modules directly from AI-Thinker.  They started signing their email with “Notes:ESP-32 begin to sale!” and I assumed that it means that I can buy as many as I need.

I asked for a price for a few hundred modules, was quoted a price and when I placed an order I was told that they will ship me one module for development.  After some back and forward one became two and it was duely shipped with some ESP8266-07 modules that I use for some custom products and my breakout board.  http://www.ezsbc.com/index.php/featured-products-list-home-page/wifi01.html  A few weeks later I received an email saying that the ESP32S was now in stock and I ordered a few hundred with some ESP8266 modules.  That was about two months ago and I’m still waiting.

On Friday, 6 Jan 2017 I finally got a tracking number for my modules.

Here is my brand new ESP32 development board.  Other than the ESP32 module it has an FTDI FT231XS USB to Serial converter, A 3.3V LDO, Reset and Flash Switches and a multi color LED.

There are two tri-color LEDs on the board.  One has the red and green LEDs hooked up to the FT231 to signal transmit and receive activity and the other is connected to three IO pins on the ESP32S module.

The board supports auto-download from the Arduino environment and will automatically be set in download mode by the downloader.  Once the download is complete the board will be reset, just like a normal Arduino board.

All the required capacitors and pull-up resistors are fitted on the board.  The board can be powered from an external power supply of up to 12V or the USB connector or both.

Unlike most other boards this one fits on a breadboard and has one row of pins accessible on each side of the board.

The schematic will be available once the board is listed for sale.  If you are interested in the board drop me a line at sales @ ezsbc.com

The board is expected to be available in volume by Jan 15, 2017 for $19.95 per board.

Edit: You can buy the boards here  for $16.95.  The board uses the ESP-WROOM-32 module instead of the AI-Thinker ESP32S module due to continuing supply problems with the AI-Thinker module.

OpenWrt Atheros AR9331 Development Board Connectors

I recently described a board for hacking on OpenWrt and that also has connectors for adding USB peripherals and custom made PCBs.  The AR9331 board is described in the post immediately preceding this one.  Here I will describe the connectors in more detail.

The board has the following connectors:

  • Power Input
  • Two RJ45 Ethernet Ports
  • 2 Type A USB ports
  • Mini-USB Port
  • WiFi Antenna Port
  • The Expansion Connector

The Power Input is used for powering the board and the peripherals attached to the board including the USB Type A ports.  The board has a switch mode regulator to convert the input voltage to 5V at high efficiency.  A standard barrel socket is used with the center pin connected to positive and the outer sleave being ground.   The ideal input voltage is 12V since the efficiency is very high at 12V input but any voltage from 7V to 17V will work.  The 7V lower limit is dictated by the maximum duty cycle of the switching regulator.  The switching regulator is rated for 20V continuous but I prefer to not use input voltages higher than 17V to prevent spikes from killing the regulator.   The input voltage will spike if the power is unplugged while the board is drawing significant current.  There is a 1A PolyFuse is series with the input voltage to protect the PCB from damage if there is a short circuit somewhere on the board or USB plugs.

The RJ45 ports have integrated magnetics and the tabs for the cable connector point downwards.  Ordinary Cat5 and Cat5E cables can be used.

The two USB ports can both act as USB Host ports since there is a USB Hub on the board.  These USB ports can power external hard drives and other devices that draw significant current from the 5V supply.  The 5V in the USB is current limited at about 3A for both ports combined.  The power is available even if the device has not been enumerated.  Since these boards are aimed at being embedded inside other products the 5V from the USB can power external 5V devices including battery chargers.  We have tested several USB hard drives, flash drives and some other peripherals on the USB ports.  One of the devices known to work is a USB to Serial adapter based on an FTDI chip.  Similar boards normally can’t drive USB to Serial or USB to Parallel converters due to the compatibility issues of the AR9331 chipset with USB 1.1 devices.

The Mini-USB port has a FT231SX USB to serial adapter between it and the AR9331’s integrated UART.  This serial port is used by the Linux kernel as an error reporting channel.  You can log in using the root password and change setup of the WiFi and firewall tables.  Also, if all else fails, you can upload new firmware through this port.  Normally the firmware would be uploaded via the Ethernet or WiFi ports.  A change in the build settings for OpenWrt can make this serial port available for general use.

The WiFi port is a 50 Ohm 2.4GHz port for transmitting and receiving the WiFi signals.  The connector is a standard IPAX u.FL connector and you can connect any 50 Ohm antenna to the module.  These connectors are not designed for many mating cycles and a typical spec is 10 cycles.  The boards will be supplied with an antenna that is printed on a PCB but any standard 2.4GHz antenna will work.

The Expansion Connector is a 20-pin 0.1″ header connector and is not fitted on the modules.  The connector has a a number of signals that connect directly to the AR9331 SOC and they should be treated with care.  The AR9331 is a 2.5V device and its pins are NOT 3.3V or 5V tolerant.


1 GPIO15 GPIO18 2
3 GPIO16 GPIO19 4
5 Vin GPIO20 6
7 Gnd GPIO21 8
9 RXftdi GPIO22 10
11 TXftdi GPIO23 12
13 2.5V GPIO24 14
15 3.3V GPIO26 16
17 5V GPIO27 18
19 Gnd GPIO28 20


Some of the pins have special functions assigned to them with hardware support for those functions and I will cover them later.  The 2.5V pin is provided more as a reference than a power supply pin.  You should not draw current from it.  The 3.3V pin can suply some current and I will qualify it in more detail in the future.  It is limited by the fact that there is no heatsink on the 3.3V LDO except for some copper areas attached to the device.  It this point I think 50mA should be available with a possibility of 100mA or even 150mA.  The 5V pin is the primary regulated supply and any board that needs more than a few mA should have a regulator from the 5V to generate its own supply voltage.  In the event that a module needs a voltage higher than 5V I routed the input voltage directly to the Vin pin but it is unregulated and untouched except for the PolyFuse protection.

  • GPIO15 is shared with a signal called LED4 on the AR9331 and the description reads “Ethernet switch LED3” and it defaults to a general purpose IO pin.
  • GPIO16 is shared with LED5 for which there is even less information available but it defaults to an IO pin.
  • GPIO18 can be configured as I2S_CK for an I2S audio inteface.
  • GPIO19 can be configured as I2S_WS for an I2S audio inteface.
  • GPIO20 can be configured as I2S_SD for an I2S audio inteface.
  • GPIO21 can be configured as I2S_MCK for an I2S audio inteface.
  • GPIO22 can be configured as I2S_MICIN for an I2S audio inteface.
  • GPIO23 can be configured as SPDIF_OUT for a digital audio output.
  • GPIO24 is always a general purpose IO-pin.
  • GPIO26 is a general purpose IO-pin that can be configured as a generic LED driver.
  • GPIO27 is a general purpose IO-pin that can be configured as a generic LED driver.
  • GPIO28 is a general purpose IO-pin that can be used to control and external Low Noise Amplifier for increased WiFi sensitivity. It is always available as an IO pin on this board.

The I2S Interface

I2S/SPDIF out is an audio interface that support up to 48 KHz sampling clock and a serial clock of more than 512 * sampling frequency. It also supports seamless switching of the audio out stream from I2S to SPDIF.  I2S MIC is also supported.  Can generate serial clock for various sampling frequencies.


OpenWrt Atheros AR9331 Development Board

Dragon Development Board

It is a low cost development board that lets you embed Linux into your projects. It runs OpenWrt with a Linux kernel, has 2 USB host ports and has full Ethernet and 802.11 b/g/n WiFi capabilities.

Applications:

  • Internet of Things
  • Voice over IP
  • Mesh WiFi
  • Industrial Control
  • Internet Radio
  • 3G/4G router

OpenWrt is a reliable Linux distribution for embedded systems with an emphasis on networking. It is open source, actively developed and well maintained. OpenWrt uses the OPKG package system, has lots of powerful utilities and the software is maintained in package form. Users can easily install, add and remove packages to make a very customized system.

AR9331 OpernWrt  Development Board

AR9331 OpernWrt Development Board

Specifications:

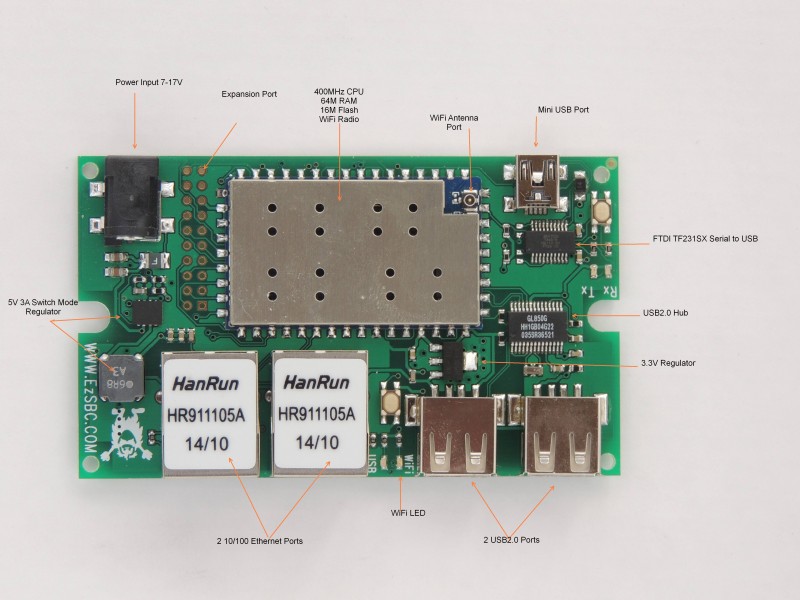
CPU: ATHEROS AR9331 chipset, which integrates MIPS 24Kc processor, CPU 400MHz, Hardware Ethernet Switch (MAC, PHY) and integrates with on chip MAC, RF, PA and LNA for WiFi.
RAM : 64MB;
Flash : 16MB
Interfaces: 2 x RJ45, 2 x USB Host, 1 x UART, 14 GPIOs
OS: Linux based OpenWrt
Power: 7 to 17 VDC power input with onboard switch mode regulator
WiFi: Support 150M 2.4Ghz WiFi, 802.11 b/g/n
Frequency range: 2.4~2.4835GHz
Modulation: BPSK, QPSK, CCK and OFDM (BPSK/QPSK/16-QAM/ 64-QAM)
Sensitivity @PER : 135M : -65dBm@10%PER; 65M : -65dBm@10%PER; 54M : -68dBm@10%PER; 11M : -84dBm@8% PER; 6M : -88dBm@10% PER; 1M : -90dBm@8% PER
Typical Distance: Indoor: 60m (max); Outdoor 150m (max) (with 2 dBi antenna)
RF Power: 11n: 13dBm; 11g: 13-15dBm, 11b: 16-18dBm,
Antenna Connector: I-PEX connector.

Why?

The board was developed as an alternative to hacking a commercial router such as the TP-Link TL-WR703N Mini Portable Wireless Router to use as a development platform.  There are many routers available based on the Atheros AR9331 Chipset and running customized versions of OpenWrt or DD-Wrt software.  The TL-WR703N is popular because of its low price and small size.

Hacking a router to install OpenWrt is a well tried path to getting a functional board with open source software to allow development of low volume or one-off projects.  It has its problems.  In most cases the schematics are not available unless someone took the trouble to reverse engineer the schematics from the printed circuit board.  The TL-WR703N has been reverse engineered and the schematics are available here . I looked at the schematics and they appear reasonable and are most likely correct or nearly so.  So again, why bother making a board based on the same chipset?  Part of the answer lies in our own requirements.  We wanted a board with more than one Ethernet port and a USB port to allow us to write data on a real hard drive.  The Raspberry Pi and the Beaglebone fail the two Ethernet port requirement although they have lots of USB ports available.  In some cases we want to turn off the radio and use only the wired ports for security reasons.  Also, routing Ethernet packets without hardware assistance is a CPU killer in terms of work load.  That still leaves the option of using a commercial router and hacking it.

There are many routers out there and may are well supported by OpenWrt, our preferred operating system.  Many have four or five Ethernet ports and some have USB ports as well.  Some testing has shown that we need 64M of RAM for our target application and that ruled out some routers.  The lower cost routers all seemed to be based on the AR9331 system on a chip and some testing on hacked boards lead to a remarkably annoying discovery.  You can have two identical routers with identical software and one will have a reliable USB port, one not.  Even worse, some have very low failure rates so they appear OK but will hang when left unattended.

Searching on the Internet for a fix showed that OpenWrt has a patch for the problem.  After making sure the patch was applied we tested a couple of boards and they worked well.  In fact, they worked so well that we considered the problem solved and started developing the application.  After some time a board that worked correctly acted up and would not be reliable with a hard disk attached to the AR9331 USB port.  We had previously tested this exact board with a hard drive and copied very large amounts of data from one place on the drive to another.  We also read the content of the entire drive, a few hundred gig without any problem whatsoever.  I tried another board with a physical hard drive and it worked fine but it absolutely refused to read an old USB Flash drive.  Searching on the Internet for a solution I saw a post somewhere that installing a passive USB hub between the chipset USB port and the drive (or keyboard, USB to UART adapter or some other devices) fixes the problem for some people.  We tried it and it worked! A flaky USB system became reliable. Two questions remained; Is it really fixed? and What is the cause?  There is a large topic on the OpenWrt forum that started in 2012 and is still going about this USB issue.  https://forum.openwrt.org/viewtopic.php?id=39956  There were many theories and suggestions including reading undocumented registers and writing the contents back periodically.  More searching and emails eventually crystallized into the following facts:

  • All AR9331 devices have a USB stability issue
  • It is not power supply related
  • Disabling the WiFi makes the problem go away
  • The problem can be solved by adding a USB 2.0 Hub between the AR9331 and the offending devices
  • USB 1.1 devices never work reliably.

The problem seems to be due to a hardware bug in the AR9331 and terminology problems.  The AR9331 has a USB2.0 controller and it works reliably with USB 2.0 devices (only) but is unreliable with USB 1.1 or Full Speed USB devices.  The problem can be resolved in hardware by installing a hub that connects to the AR9331 as a high speed USB 2.0 device and translates USB 1.1 transactions to USB 2.0 transactions.

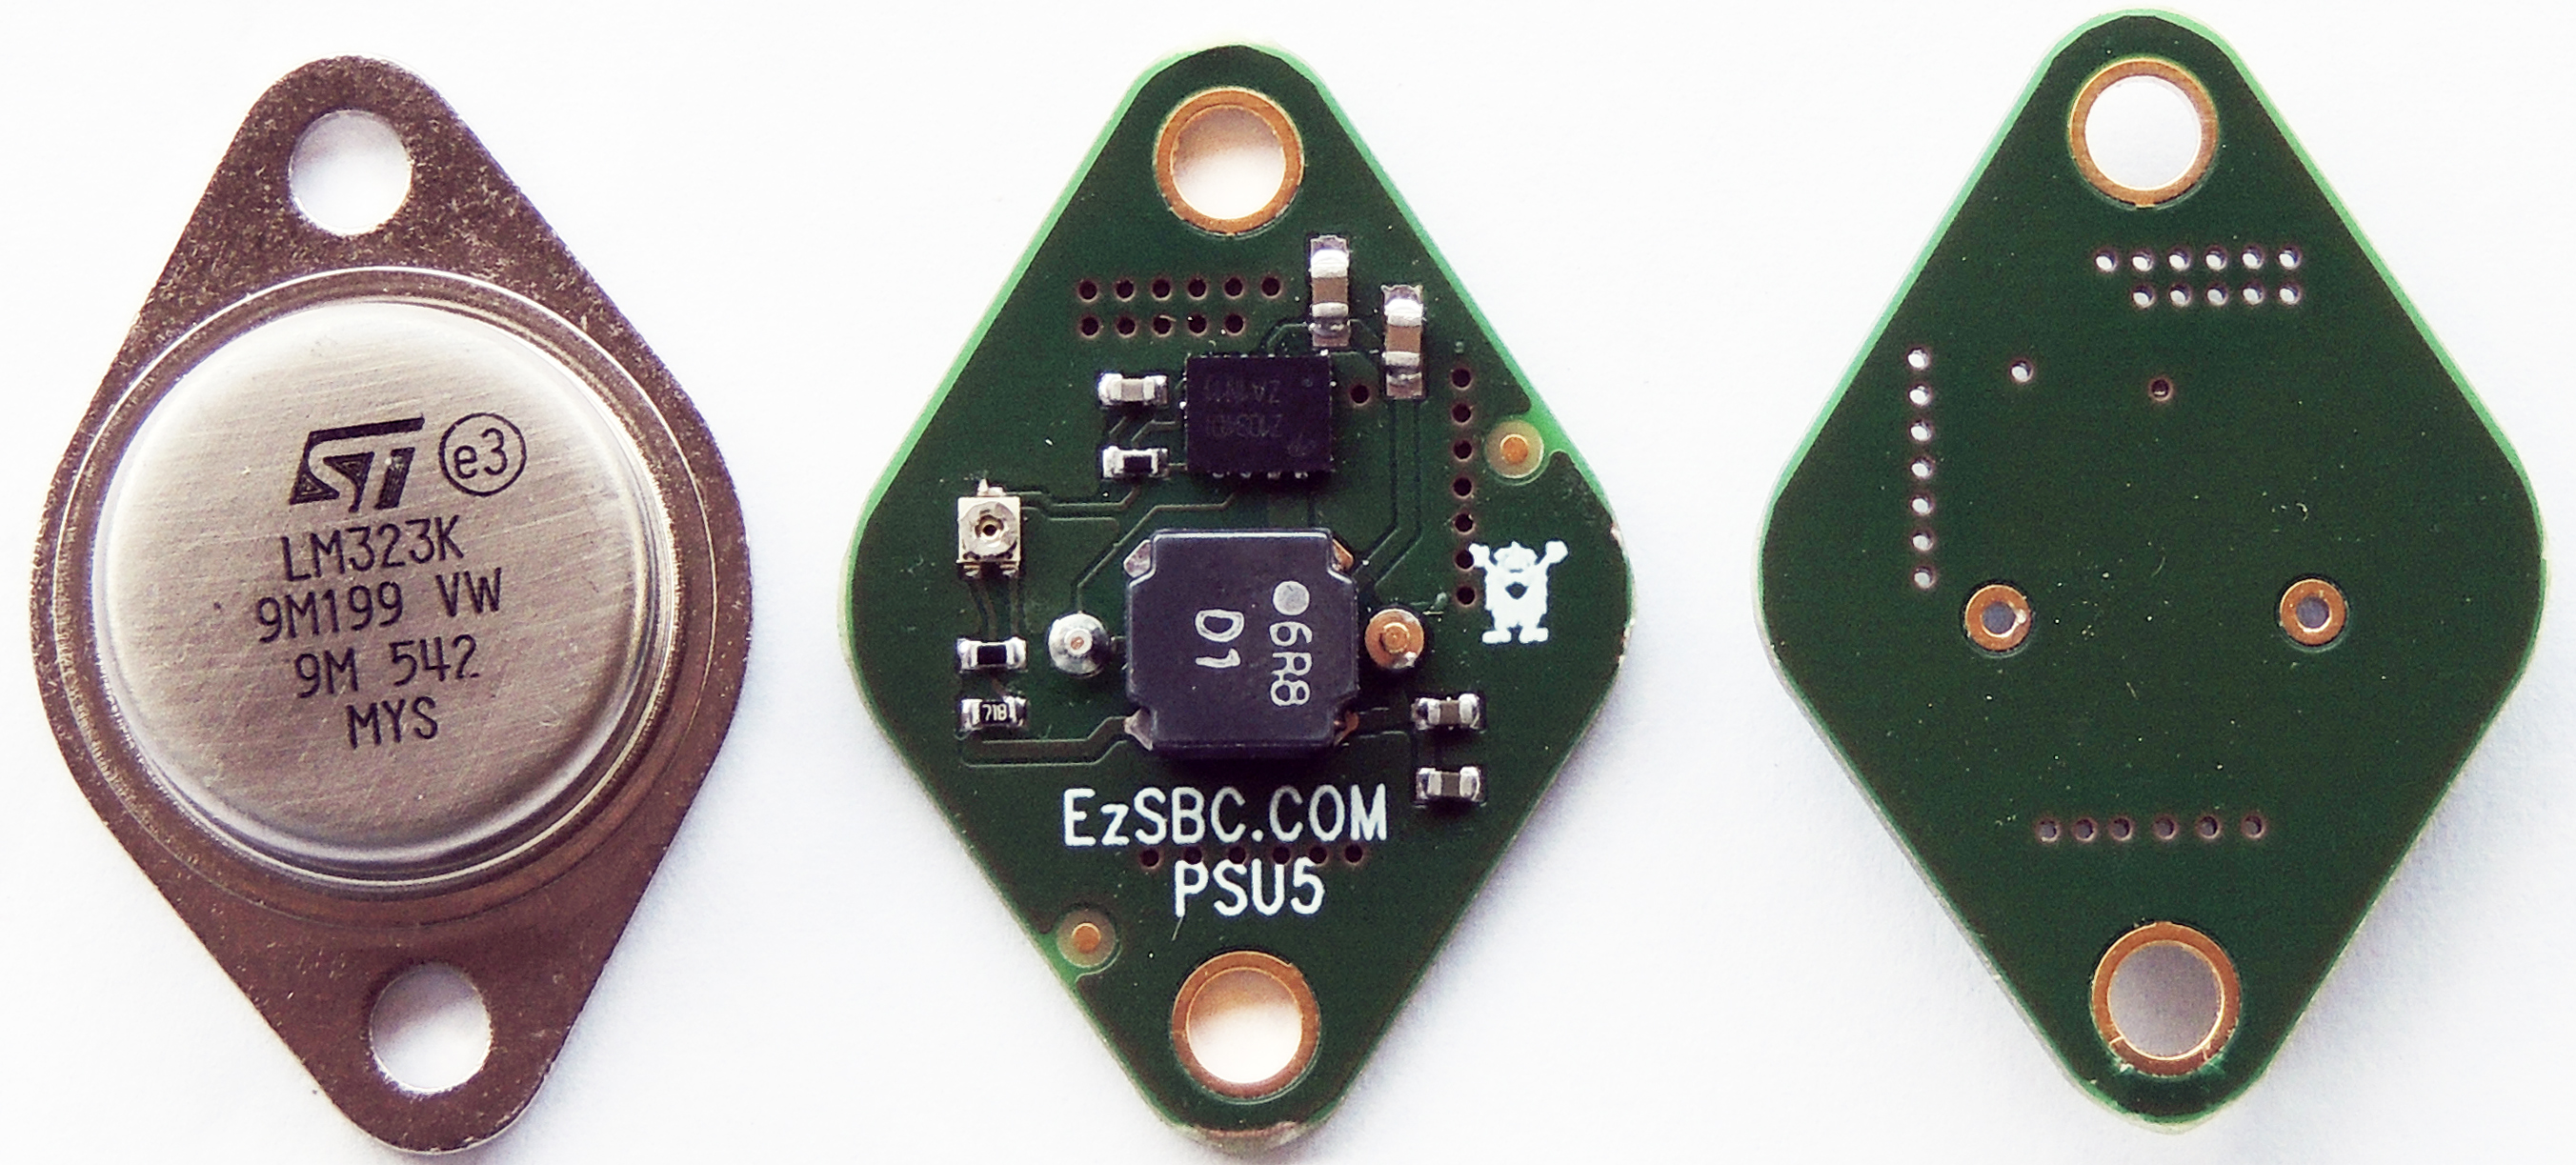
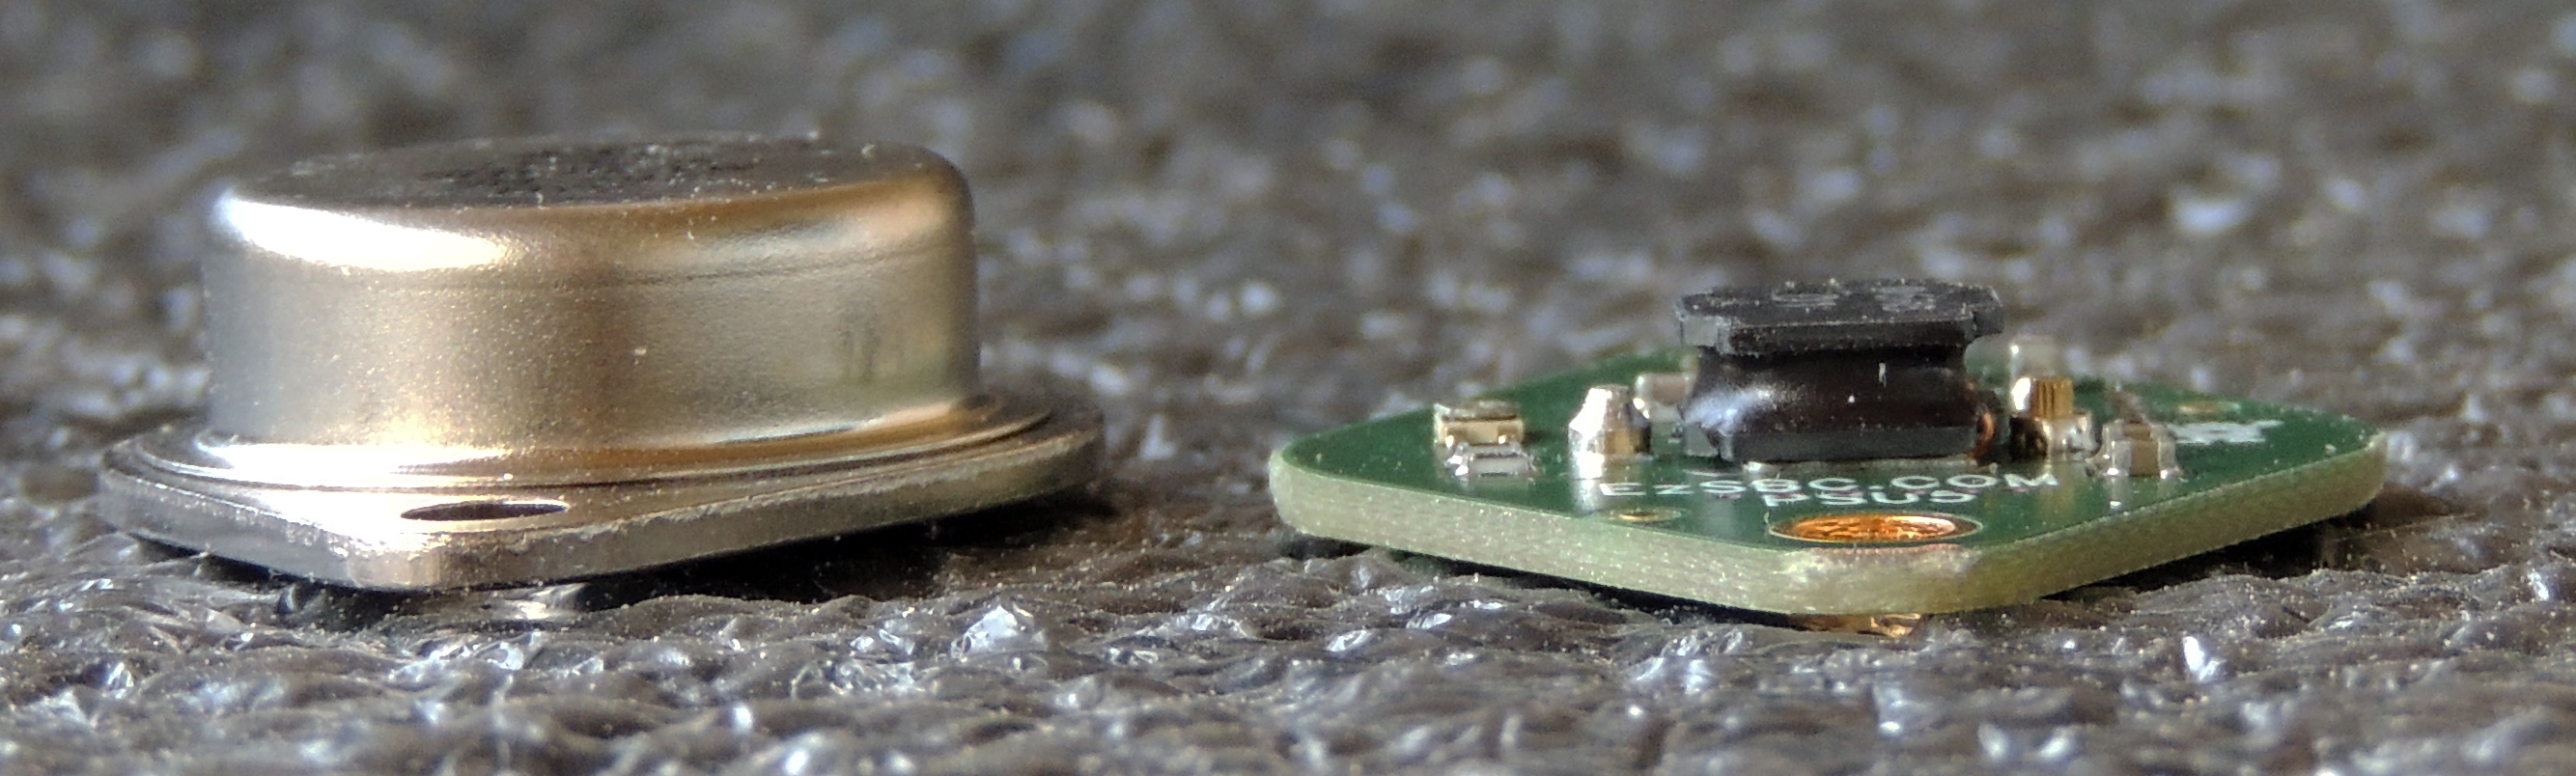
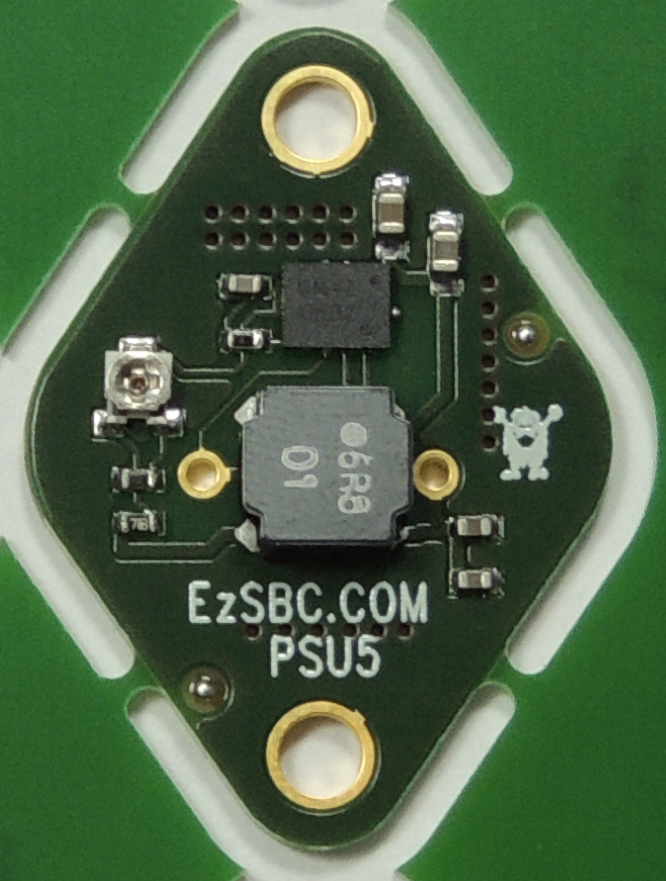
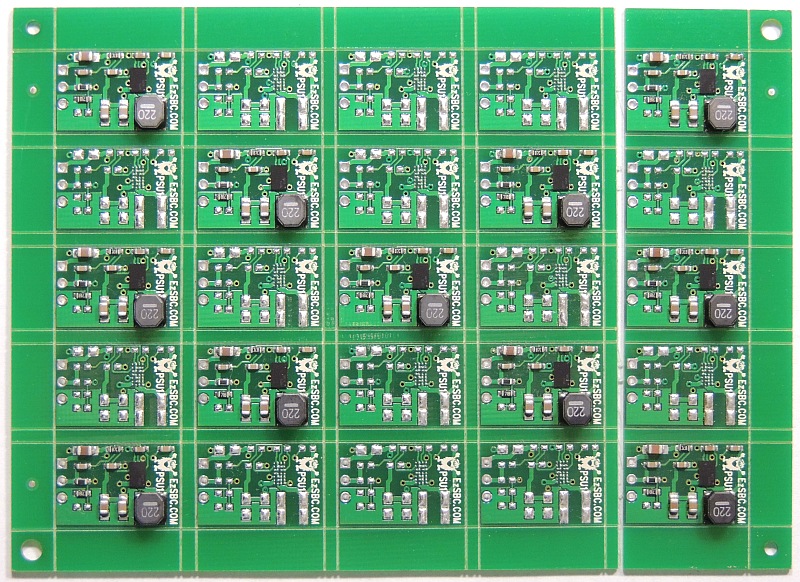
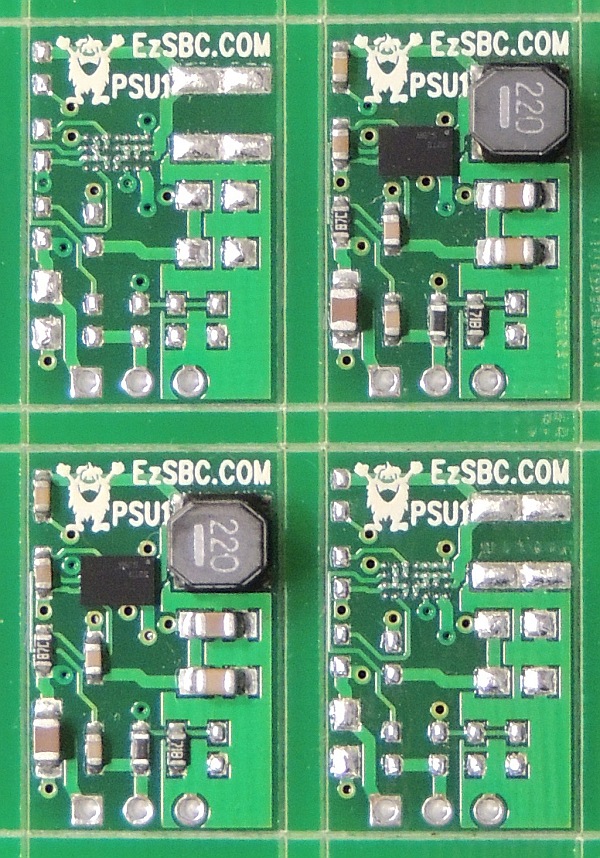
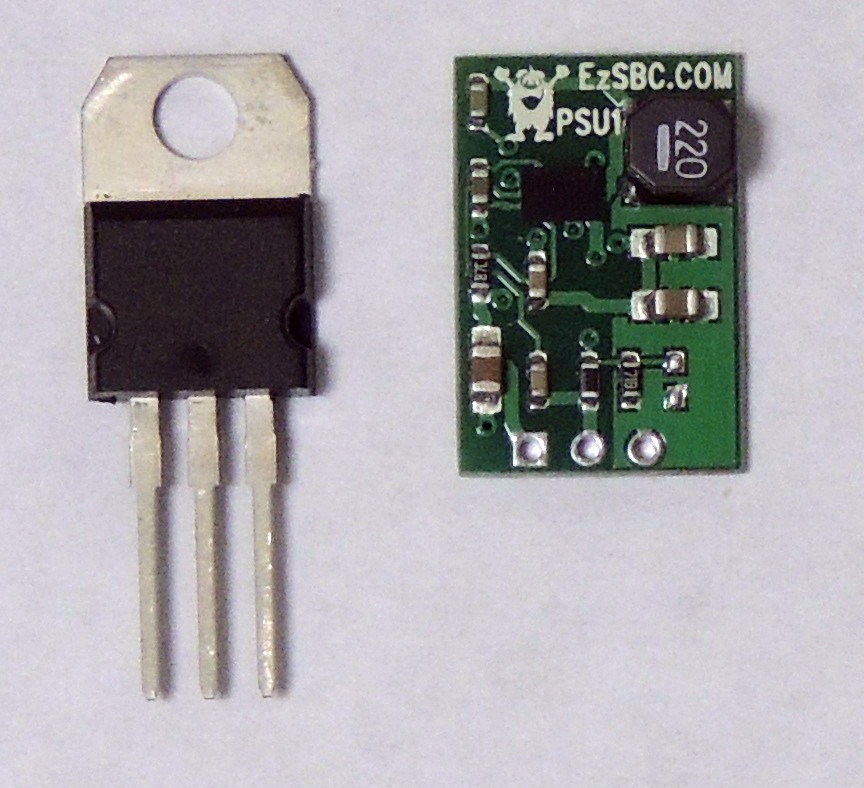
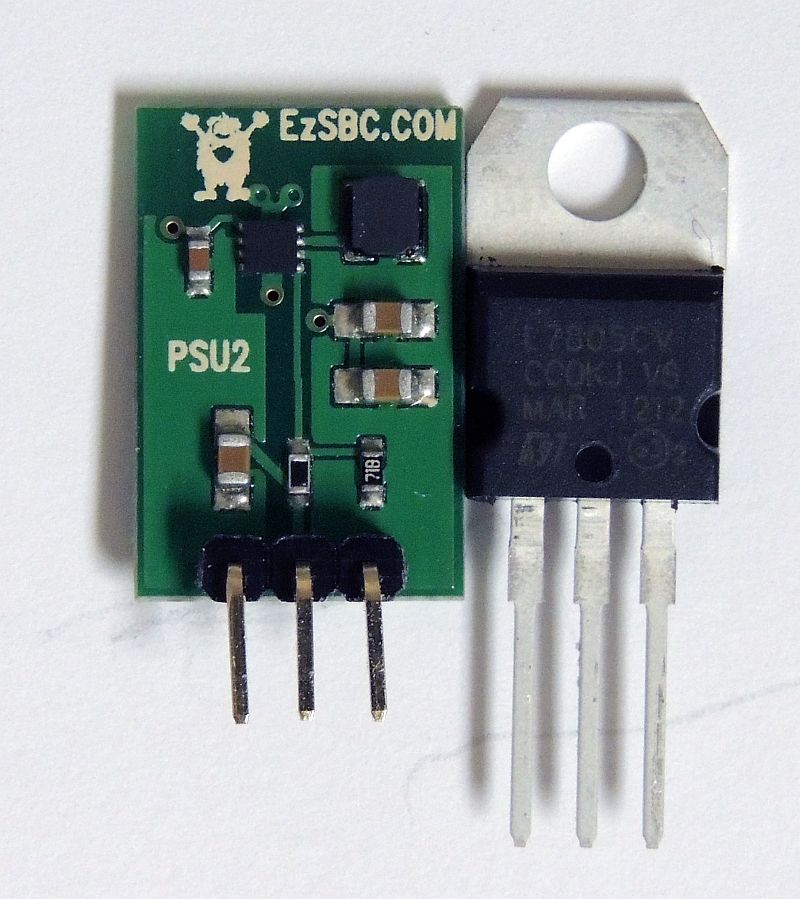
I added a USB 2.0 Hub to the board and for good measure I added a second USB host port as well.  We now have reliable USB ports for anything recognized by the software.  Since one of our aims is to use physical hard drives attached to the USB ports I added a 5V 3A switch mode regulator to the board and wired the 5V directly to the two USB host ports.  The ports don’t respect the 100mA/500mA current limits of standard USB port and will happily supply 2A or more on a port as long as the total current drain is less than 3A.

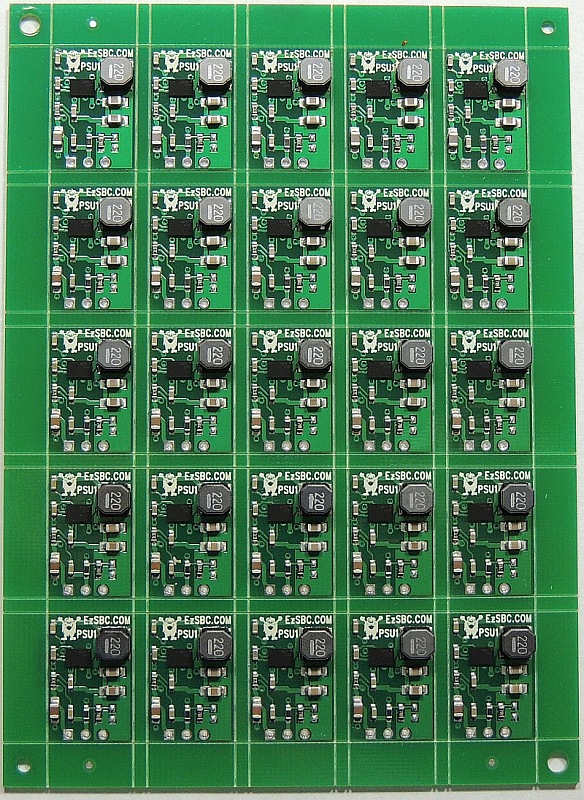
The board has been undergoing testing now for a couple of weeks and it appears that all the bugs are now in the software.  All the parts are in house but the solder paste stencil is still in process.   The board will be available for purchase by the end of June 2015 and a single unit will be below $50.

12V TO3-style regulator available

The PSU6 is similar to the LM323 replacement in shape but produces 12V at 1A.  Since the TO3 package is no longer manufactured all the regulators in this package will disappear from the market in due course.

6 and 5s

PSU6 next to its older brother


The PSU6 has a 40V absolute maximum input voltage and will produce 1A without a heatsink.  It is mechanically identical to a LM7812K and is more accurate being within 2% of 12V under all load and input conditions.  It includes over current, thermal and short circuit protection.

One of  the improvements made to to the PSU6 based on user feedback is that the rings around the ground contacts have been increased in size.

PSU6s

PSU6 12V 1A switching regulator


New Level Shifting Buffer, Level Shifter

I just finished the design and development of a new Level Shifter, LS2.  Although similar in function to the LS1 the new level shifter complements the functions of the LS1.

The  new Level Shifter is a true buffer, squaring up the input signal and driving the output signal high and low with active drivers.  The LS1 is a bi-directional circuit and drives low but has resistors for pull-up.  It is aimed at I2C circuits and low speed signals.

The LS2 outputs are low when the inputs are not driven.  Each one of the 12 inputs has a 500k pull down resistor to ground to ensure that the input will stay low while the micro driving it is in reset.  It works well with an Arduino to convert 5V or 3.3V signals to 12V.

LS2

LS12 showing inputs and outputs on the two sides.

The LS2 has two power supply pins, pin 1 and pin 28 and the buffers can translate from low to high levels or high to low levels.  The input and output power supplies determine whether the level shifting is from high to low or vice versa.  The input and output power supplies can be anywhere from 3.3 to 18V and the order in which the supplies are turned on is not important.

The LS2 has 12 channels with the inputs on the left and outputs on the right.


LS2 in a panel before being seperated

LS2 in a panel before being separated

The scope shot below show the measured waveform when converting a 5V signal to 12V’.


100kHz 50% duty cycle 5V square wave input.  Yellow is the input, Blue is the output signal

1MHz 50% duty cycle 5V square wave input.
Yellow is the input, Blue is the output signal

Rising Edge

Rising Edge – 50ns per division


Falling Edge at 50ns per division

Falling Edge at 50ns per division


The LS2 level shifter is quite fast and can easily translate a 1MHz signal.

Production quantities are available now and the price is $4.95 for a 12-channel module.

LM323K Replacement Now Available

In the previous post I said that with a little bit of luck the PSU5 would be in production by the end of May.  Well, the luck didn’t materialize and it took till the first week in June for it to be ready.  Even now my production capacity is a little limited due to a fault in the solder paste stencil.

MissingPasteS

From the picture above you can see that the inductor mounting pads did not get any paste.  The stencil file provided by the PCB supplier to the stencil manufacturer did not contain the openings for the inductor pads.  Normally paste openings are rectangular and because these were not strictly rectangles the CAM program dropped them from the paste mask.  The supplier is re-manufacturing the stencil and for the time being the paste for the inductors are being added with a manual paste dispenser.  Fortunately the pads are large so it is easy to do.  A long story short; The LM232K replacement is called PSU5 and is available for sale from the shop.  See http://www.ezsbc.com/index.php/products/psu5.html

LM323K Replacement Ready for Production

The first prototypes of the LM323 Replacement were difficult to manufacture.  In particular the trim resistor would not pick correctly in my pick and place machine.  The hole in the center of the adjustment ring was big enough to allow enough air to leak so that it kept falling off the nozzle when the placement head accelerated.  I substituted the trimmer with a different brand and the problem is resolved.

PSU5 next the an original LM323

PSU5 next the an original LM323

I adjusted the hole size for the pins to match the pin diameter of an original LM232.  I use gold plated pins.  The mechanical design of the LM323 replacement, the PSU5, is accurate enough so that it fits the sockets sometimes used beneath the heatsinks.  The pins, holes and outline is a near perfect match for the original LM323.  The PSU5 can supply 3.5A at 5V from  a 12V input without requiring a heatsink.  It can be mounted on an existing heatsink for additional cooling.  The bottom of the PSU5 is flat and can be mounted directly on a heatsink or with the use of the normal isolation washer.

Like the original LM323 the bottom of the PSU5 is connected to the ground terminal.  The production PCBs have been ordered and with a little luck production quantities will be available by the end of May.

The pins of the LM323 Replacement is the same diameter as the original but slightly shorter

The pins of the LM323 Replacement is the same diameter as the original but slightly shorter.


The LM323 Replacement is a little lower in profile the the original ensuring that it will fit everywhere.

The LM323 Replacement is a little lower in profile the the original ensuring that it will fit everywhere.

LM323 Replacement

For all of my pinball and video game customers I have a new product in the works.  Many of the pinball and video game consoles use LM323K devices as 5V regulators.  As many of you may know the LM323 has now been discontinued by all the manufacturers and prices are beginning to skyrocket.  This was a very popular and long lived part so there is probably many parts sitting in inventory at many companies so supplies won’t disappear overnight.

In many applications the LM323 is hard to substitute since it is a high current regulator rated at 3A.  I made a PCB with the same footprint as the LM323 and it contains a switch mode voltage regulator.LMK1_1

This is a photograph of one of the first prototype boards still in the panel.  Unlike any of the other three pin regulators this one contains a trim resistor.   Even though the accuracy of this design is +- 2% instead of the +-5% of the original LM323 I included the trimmer to allow fine adjustment of the output voltage.  In many applications where the LM323 were/are being used the 4.75V minimum voltage of the LM323 caused problems so people made arrangements to increase the voltage by some other means.  By allowing the voltage to be fine tuned I hope to ensure compatibility with all the existing applications.

The LM323 replacement is designed with components rated at 4A.  The bottom of the PCB contains only the ground connection, same as the LM323.  The neat rows of vias are thermal connections between the top and bottom of the PCB.  One of the items that has to wait for the production PCB is the final current rating of the LM323 replacement without a heatsink and with the small heatsinks found on some PCB’s.  It will be better than the original but the aim is to reach 3A continuous from a 12V input without a heatsink.  The copper on the prototype PCB’s is only 35 micron thick and that limits the thermal performance.  The production PCB’s will have 70 micron copper to help with heat conduction from top to bottom.  All the filter capacitors are on the PCB.  The height of the assembly is 4mm above the PCB or 5.6mm total measured from the bottom of the PCB to the top of the highest component.  The exposed areas of the copper is coated with nickel and gold to prevent corrosion even in very hard conditions.

Production quantities should be available by the end of May 2014 with pricing for single units at around $8 and discounts for volume purchases.

‘New’ 3-Pin Regulator Design

Some people noticed that the first Power Supply Module to appear on the site was named PSU2.  This oddity was due to design named PSU1 turned out to be remarkably difficult to assemble with a decent yield.  The PSU2 was designed to fill the immediate need for 5V and 3.3V switching regulators that are drop in replacements for linear three pin regulators such as the 7805 but without the headache of the heatsink.  This is particularly true when the supply voltage is 12V.  Even at 500mA load current the heatsink is embarrassingly large.   The design of the PSU2 was done in a short time and it is a very successful design that has very low ripple and noise.  The switching frequency is high to keep the filter components small.  The two limitations of the PSU2 is that the input voltage range is restricted to 17V maximum and that is less than the original 7805 family and the highest output voltage available is 5V, again lower than the original 7800 family.

The PSU1 design overcomes these limitations while keeping the same form factor as the PSU2.  The only difference in the mechanical size is the PSU1 has a larger inductor.

Panel1sb

The photograph above shows a panel of the PSU1 design after reflow and test.  This was the third panel assembled and the first one with 100% yield.  For those unfamiliar with assembly details this is a good example of the challenges of manufacturing small PCB’s on automatic equipment.  To be able to place the components the Pick and Place machine needs some clearance to the edge of the board and must be able to hold the board.  The strips on the outer edge are commonly referred to as ‘thieves’ (I don’t know why) and allow the machine to hold the pane and populate components up to the edge of the individual  PCB’s.  On these strips there are a few holes and copper dots.  The dots are to allow the P&P machine to determine the exact position of the panel and to correct for variations in the routing of the panel.  The dots are called ‘fiducial marks’ and are sometimes placed near fine pitch devices to allow for accurate placement of those IC’s.  The vertical lines between the individual PCB’s are ‘v-scores’ to allow the boards to be separated after assembly and in this case after testing as well.  There are limitations to the smallest size of board that can be scored and this panel can not be scored exactly next to the PCB’s due to these limitations.  The small sections of board are inserted into the panel to allow the board edges to be scored even though the blades can not be set to the width of the individual PCB’s.  By adding these small sections the board edges can be scored by passing the panel through the scoring machine twice.

The holes on the corners of the panel to allow precise alignment in my solder paste printer.  The printer has pins that exactly fit the holes and the repeatability from panel to panel is as good as the registration of the holes to the copper.  To ensure proper soldering on this design was remarkably hard.  The IC is a ball grid device with a fine pitch and it has to be mounted in close proximity to the inductor.  The noise increases and efficiency decreases as the inductor is moved further away from the away from the IC.  The mass of the inductor prevents that part of the board from heating as fast as the rest of the board and may lead to poor solder joints underneath the IC where it is impossible to inspect without x-rays.  Solder paste consist of metal, flux and other magic sauce that gives it the properties required to print correctly, not slump after printing and solder properly.  To judge the solder volume and alignment I made a test panel where the diagonals were populated with components and then it went through the reflow oven.

PanelTest1S

The photo above is of the partially populated panel after it went through the reflow oven.  Note how small the dots are for the BGA part.


PanelTest1SectionS


This is a photo showing a close-up of four boards with two populated and two unpopulated boards.  With a microscope and some patience the solder volume on each pad can be calculated and the uniformity of the deposition can be evaluated.  To limit the amount of paste placed on the inductor pads the stencil has two openings for each pad.  I thought the paste would flow together but it clearly does not.  In this case it does not matter because there is enough solder on the pads and once the inductor is placed in the paste it does solder uniformly.  It does highlight the need to be sure that a QFN package is pressed down firmly enough into the solder to make sure the solder covers the entire pad underneath the IC since the solder does not seem to flow horizontally but prefers to make ‘bumps’.  From this photograph it is also really easy to see how small and tightly spaced the balls are on this package.

This design has a 40V input limit and eventually there will be 9V and 12V variants available.  For now the 5V and 3.3V are available in production quantities.

To emphasize how small the board is it is shown next to a LM7805.

PSU1_Comparison_S


PS/2 Keyboard Decoder

I have run into a problem with the decoder software.  I have read many posts on how to turn the keyboard LEDs on and off but they stubbornly remain off.  Normally interfaces to a PC are extensively documented by multiple sources and widely available.  I’m surprised by how little accurate information is available.  This includes some waveforms (diagrams, not captures) that have the wrong number of clock pulses in the transmitted data.  I have been busy recently and unable to work on the issue but during the past week I got back to it and rewrote the code to toggle the LED once more and it still doesn’t work.

Since I can’t find reliable information I will have to measure it.  I bought a few cables, connectors and set up a test PC to talk to the keyboard.  I will capture the waveforms and publish them here so that there is a trustworthy source of information.

Daniel

PS/2 Keyboard Decoder

We have been working on a comprehensive PS/2 keyboard controller.  PS/2 keyboards are available in many shapes, sizes and specialty versions and most are low cost as well.  A problem with these keyboards are that they require fairly complicated code to read the data from the keyboard and translate it into a simple ASCII character.

There are a few PS/2 controllers on the market so why build another one?  The short answer is that none of the ones on the market meet our needs.  Most (All?) PS/2 controllers produce 5V signals and this is a problem for modern CPU’s that run on 3.3V.  The output ports available on the existing controllers are typically serial ports and some offer I2C interfaces.  We will offer serial, I2C and SPI outputs, simultaneously.  The power supply to the microcontroller is switchable between 3.3V and 5V to allow the keyboard decoder to be used with 3.3V and 5V systems without level shifters.  We also offer IO pins that signal when there is a character available, when the internal buffer is full and the state of the Caps Lock of the keyboard.

The first prototype had a few issues such as the PS/2 connector had to be soldered onto the bottom of the board, the reset signal was broken and some other minor issues.  The second prototype is in much better shape and we are coding away furiously.  Once the board and the code is fully tested it will be for sale at a reasonable price.  The schematic will be available to everyone  and the source code will be available to all who purchase the controller.  You will be able to modify the code to suit your own personal requirements.  The decoder is programmable without any hardware and with free software.  The CPU is quite capable and fast and has several IO pins available so you may be able to fit your entire project onto the controller.


Switch Mode Regulator Drop In Replacement for LM7805

I have completed the design, layout, assembly and initial testing of a switch mode regulator that is a drop in replacement for an overheating LM7805.  It includes all the capacitors on the module.  The module is only a few millimeters wider than a TO-220 package.  With 12V in and 0.5A load current a LM7805 needs a fairly substantial heatsink to keep the device from reaching over temperature cutoff.  The new module can supply 1A continuously with 15V input without overheating.  The back of the module gets noticeably hot but does not burn you when you touch it.

What needs to be done is more testing and some documentation before I’ll offer the part for sale from this web site.  If you are interested in an evaluation module, send an email and I send you a module for test.  I will also offer a 3.3V version.

• Drop-in replacement of 3-terminal LM7805 or equivalent linear voltage regulator.
• Guaranteed 1A output current
• Wide input voltage range up to 7V to 17V
• High efficiency, greater than 70% for loads greater than 1mA, peak efficiency achieved of 90% at 300mA load current.
• Thermal shutdown and current limit protection
• Breadboard friendly
• Board dimensions are 0.51″ x 0.75″ or 12.9mm x 19mm excluding pins. With pins 1.09″ or 27.75mm.
• Definitely no heatsink required.
• All components are mounted on one side of the PCB
• Highest component is the plastic of the connector at 0.15″, Next highest is the inductor at 0.121″ including the thickness of the PCB
• Available with straight or right angled pins.
• Weighs only 0.04 Ounce or 1.3g, ideal for RC model aircraft or quadcopters
• Can drive inductive loads such as DC motors.
• 2.2MHz Switching Frequency

The price is $6-95 in singles with discounts starting from 10 pieces.  If all goes well stocking quantities will be available by next week.


Size comparison PSU2-5 with LM7805 in TO-220 Package

Size comparison PSU2-5 with LM7805 in TO-220 Package